
All apps · 0 apps
storm
Docker app from djismgaming's Repository
Overview
Introducing Storm
A slick remote interface for Deluge that fully supports mobile devices (including as a home-screen app)
Some neccesary steps:
- You'll need a Deluge container running with a valid auth configuration
as shown here: https://dev.deluge-torrent.org/wiki/UserGuide/Authentication - Storm needs a way to contact the Deluge RPC daemon so it's best that you
create a Docker network and attach the Storm container to that network. - Once that's setup you'll need to configure Deluge to allow remote RPC connections:
- Open up core.conf in your Deluge configuration folder
- set "allow_remote": true
- Open up core.conf in your Deluge configuration folder
Security
By default, Storm does not authenticate requests made to the API.
When serving Storm over the public internet you should ensure access
to your Deluge daemon is properly secured.
- Storm comes with a simple built-in authentication mechanism which can
be enabled with the environment variable STORM_API_KEY or
the command-line option --api-key. - Set this to a reasonably secure password.
Any requests made to Storm must now provide the API key in the request. - You should also seriously consider the use of HTTPS over the internet,
with services like LetsEncrypt it's relatively easy to get a valid SSL certificate for free.
Readme
View on GitHub
You probably have a whole media stack for managing your legitimate media files remotely.
Sometimes though, downloads can get stuck or you want to add something manually to your Torrent client. Deluge's WebUI whilst powerful is pretty much useless on mobile devices.
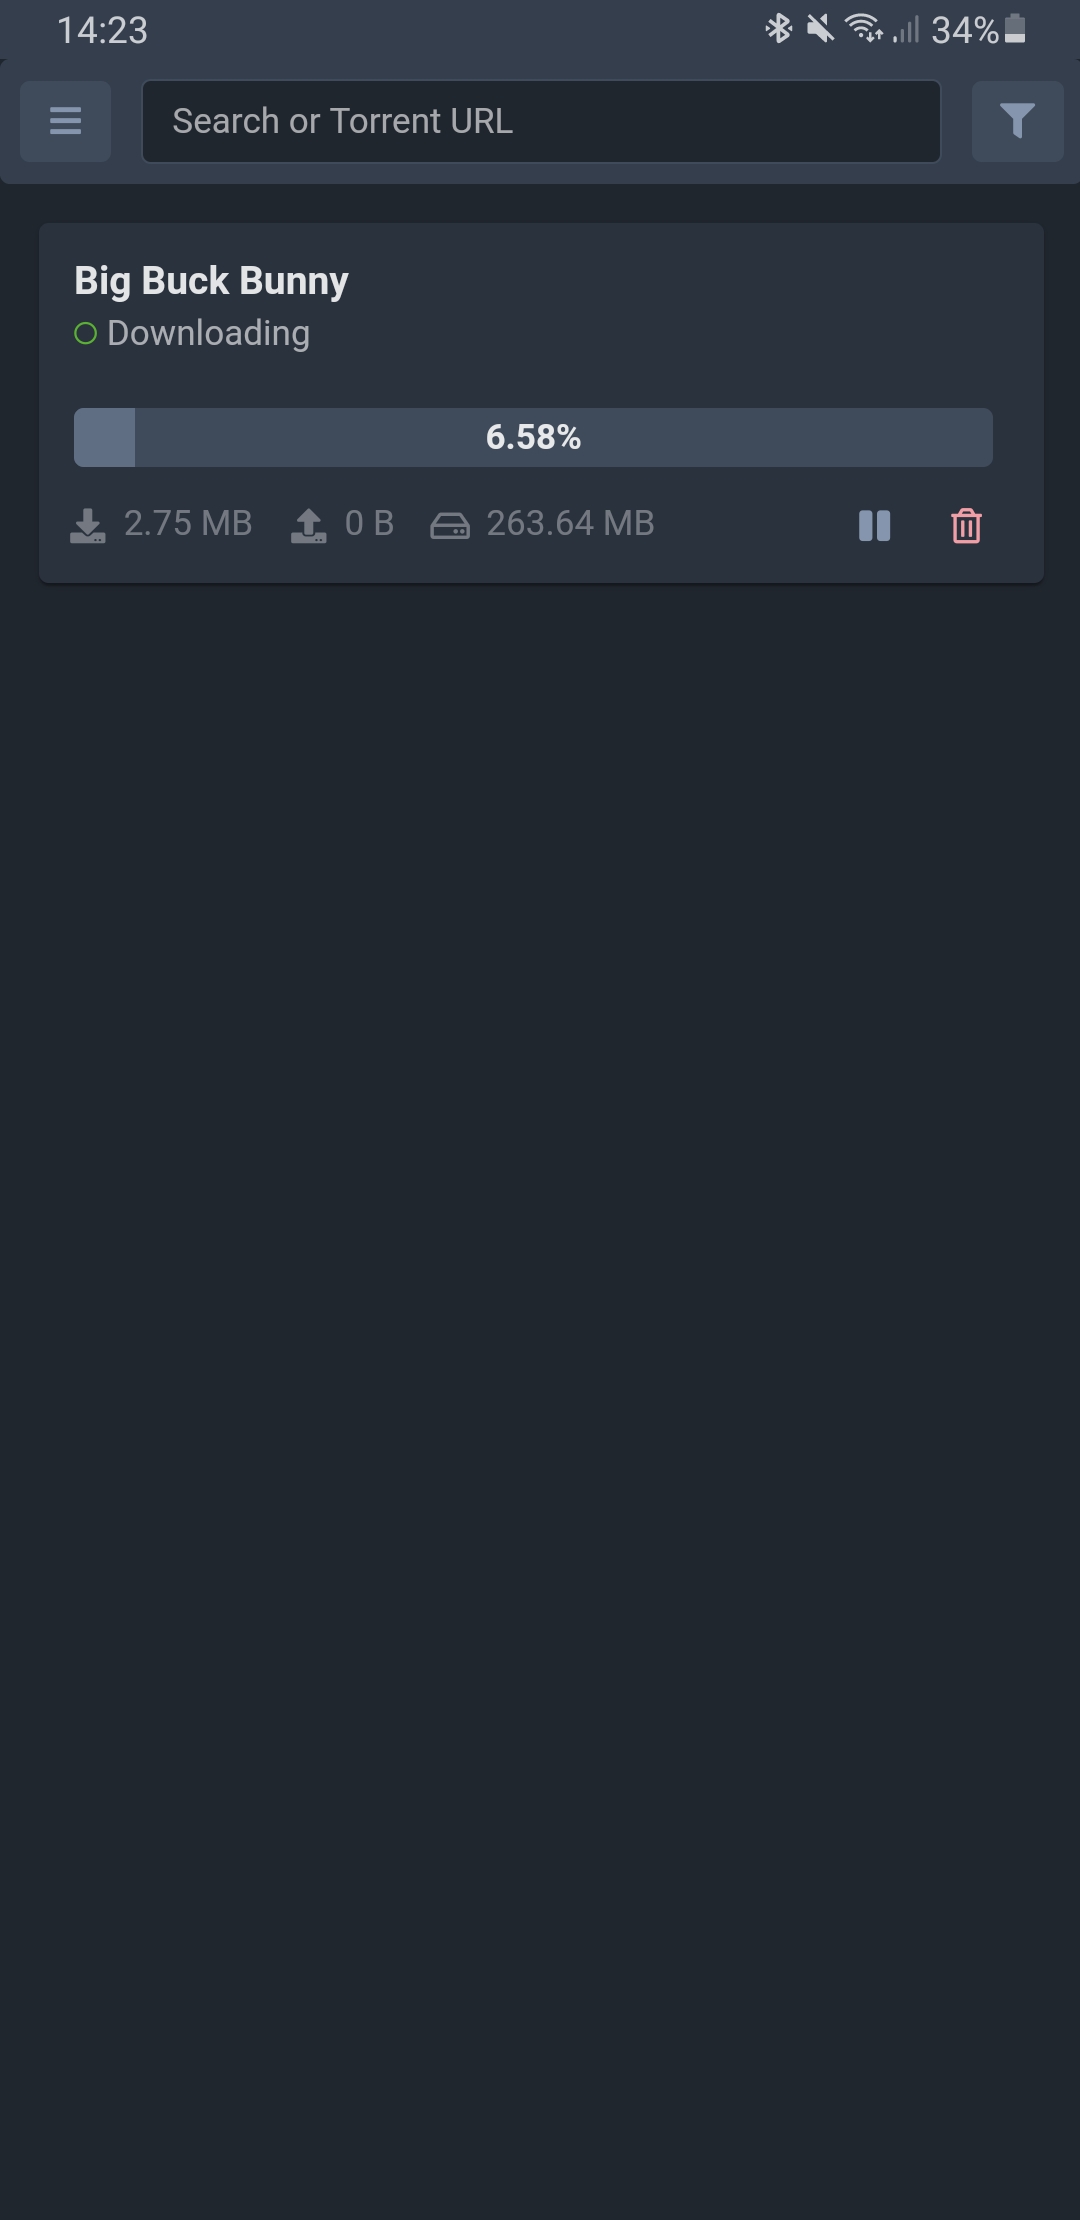
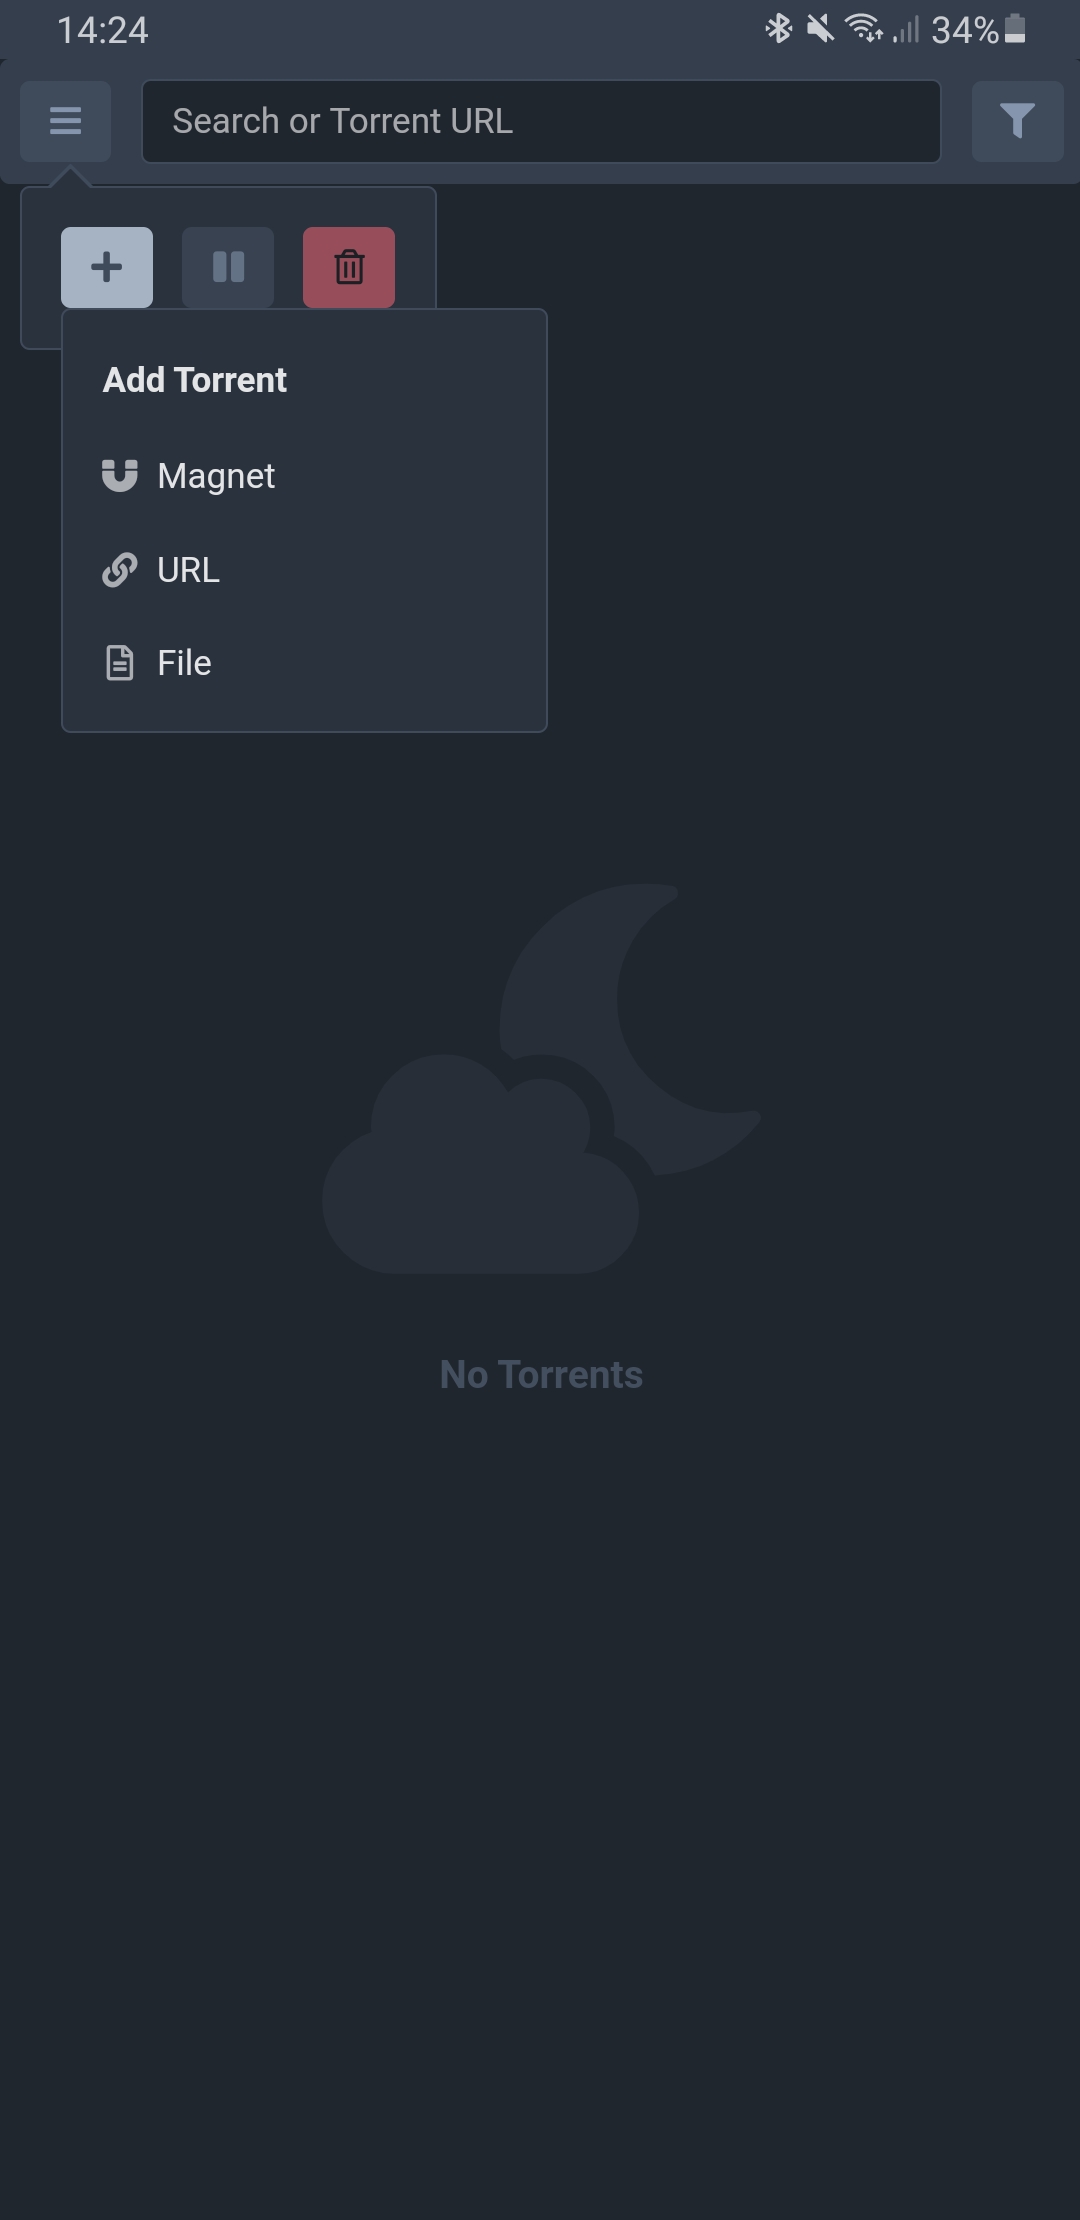
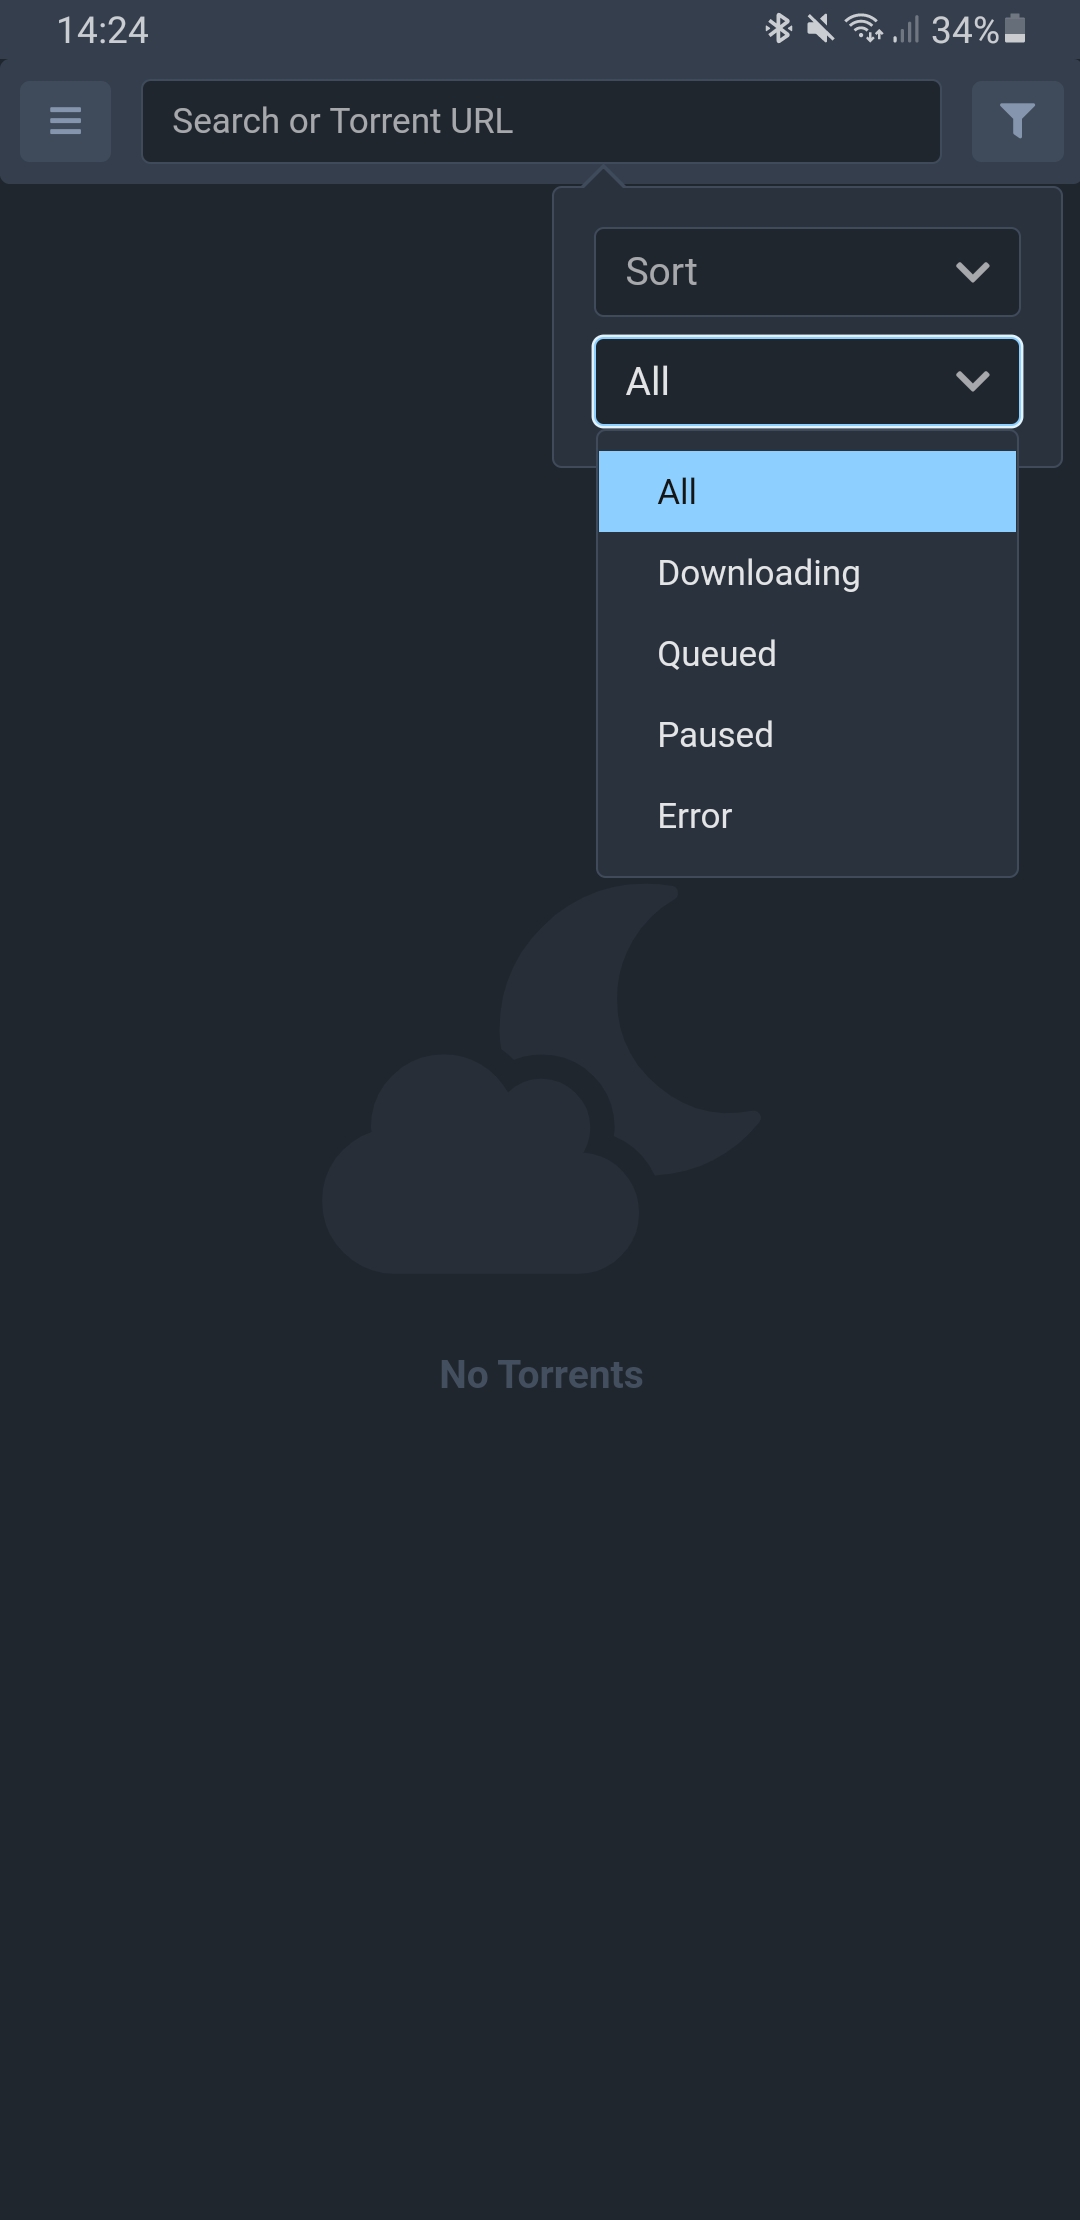
Introducing Storm
A slick remote interface for Deluge that fully supports mobile devices (including as a home-screen app)
Usage
docker run --name storm \
  --network deluge \
  -p 8221:8221 \
  -e DELUGE_RPC_HOSTNAME=deluge \
  -e DELUGE_RPC_USERNAME=username \
  -e DELUGE_RPC_PASSWORD=password \
  ghcr.io/relvacode/storm
The recommended way to run Storm is with a Docker image.
You'll need a Deluge container running with a valid auth configuration. Storm needs a way to contact the Deluge RPC daemon so it's best that you create a Docker network and attach the Storm container to that network.
Once that's setup you'll need to configure Deluge to allow remote RPC connections:
Open up core.conf in your Deluge configuration folder and set
"allow_remote": true
Then you can use the following environment variables to configure Storm
| Environment | Description |
|---|---|
DELUGE_RPC_HOSTNAME |
The Deluge RPC hostname |
DELUGE_RPC_PORT |
The Deluge RPC port |
DELUGE_RPC_USERNAME |
The username from Deluge auth |
DELUGE_RPC_PASSWORD |
The password from Deluge auth |
DELUGE_RPC_VERSION |
v1 or v2 depending on your Deluge version |
STORM_API_KEY |
Enable authentication for the Storm API |
STORM_BASE_PATH |
Set the base URL path. Defaults to / |
Security
By default, Storm does not authenticate requests made to the API. When serving Storm over the public internet you should ensure access to your Deluge daemon is properly secured.
Storm comes with a simple built-in authentication mechanism which can be enabled with the environment variable STORM_API_KEY or the command-line option --api-key.
Set this to a reasonably secure password. Any requests made to Storm must now provide the API key in the request.
You should also seriously consider the use of HTTPS over the internet, with services like LetsEncrypt it's relatively easy to get a valid SSL certificate for free.
Deluge Version
Deluge has a different interface between versions 1 and 2. You must set DELUGE_RPC_VERSION to either v1 or v2 based on the version you have installed. Storm defaults to v1.
Note that in version 2, different RPC users are not able to see torrents created by another user (#38). If you're using multiple Deluge clients (such as the vanilla Web UI, or Sonarr, etc) you should make sure they're all using the same Deluge RPC account to connect to Deluge.
Development
The application is split into two parts, the frontend Angular code and the backend Go API adapter.
The backend API is presented as an HTTP REST api which talks directly to the Deluge RPC daemon. It also has the frontend code embedded directly into the binary so the application can be distributed as a single binary.
To start a development environment you must first install the node modules
cd frontend
npm install
Then start the Angular build server in watch mode. This will output the frontend distributable into frontend/dist and watch for changes.
cd frontend
npm run build -- --watch --configuration=development
In a separate terminal you can now start the main Storm binary in development mode. In development mode, instead of serving the frontend from the binary embedded source it will instead serve directly from the filesystem.
go run github.com/relvacode/storm/cmd/storm --listen=127.0.0.1:8221 --dev-mode [OPTIONS...]
Categories
Download Statistics
Total Downloads Over Time
Related apps
Explore more like this
Explore allDetails
ghcr.io/relvacode/stormRuntime arguments
- Web UI
http://[IP]:[PORT:8221]- Network
bridge- Shell
sh- Privileged
- false
Template configuration
WebUI port to access your deluge installation via storm
- Target
- 8221
- Default
- 8221
- Value
- 8221
Change this to the current name for the deluge container you want to connect storm's webUI to
The username storm will use to connect to the deluge container. Set this in appdata\deluge\auth file
The password storm will use to connect to the deluge container. Set this in appdata\deluge\auth file
RPC connection version to use. Depends on your deluge version.
- Default
- v2|v1
- Value
- v2
Set this to a reasonably secure password. Any requests made to Storm must now provide the API key in the request.