
All apps · 0 apps

ghostboard-server
Docker app from JPDVM2014's Repository
Overview
Readme
View on GitHubGhostboard
🚀 Live Demo Available: Check out Ghostboard in action (read-only demo).
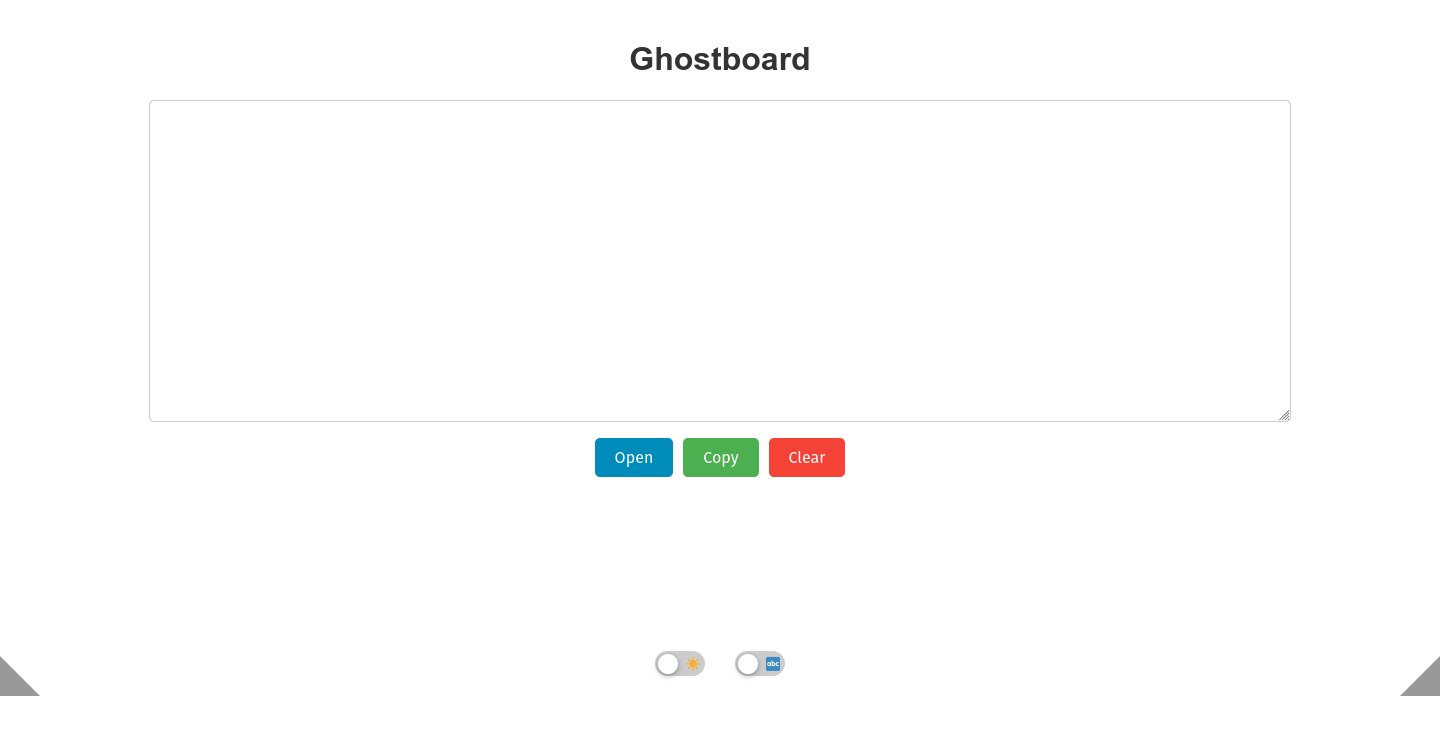
Ghostboard is a lightweight, self-hosted solution for real-time synchronized text sharing. This repository includes a WebSocket server for syncing text across multiple clients and a command-line client for retrieving or updating the shared text.
This project is aimed at self-hosters who want to quickly and easily share text between devices. There is no encryption or security—it is not suitable for deployment on the internet or other untrusted networks. Ghostboard creates a simple webpage that accepts text, which is mirrored across all connected instances. A command-line client is also provided for interacting with the text without requiring a graphical interface.
Features
Server:
- Serves a webpage with a real-time synchronized text field.
- Clients see live updates as text is typed.
- Text remains synchronized across all connected clients.
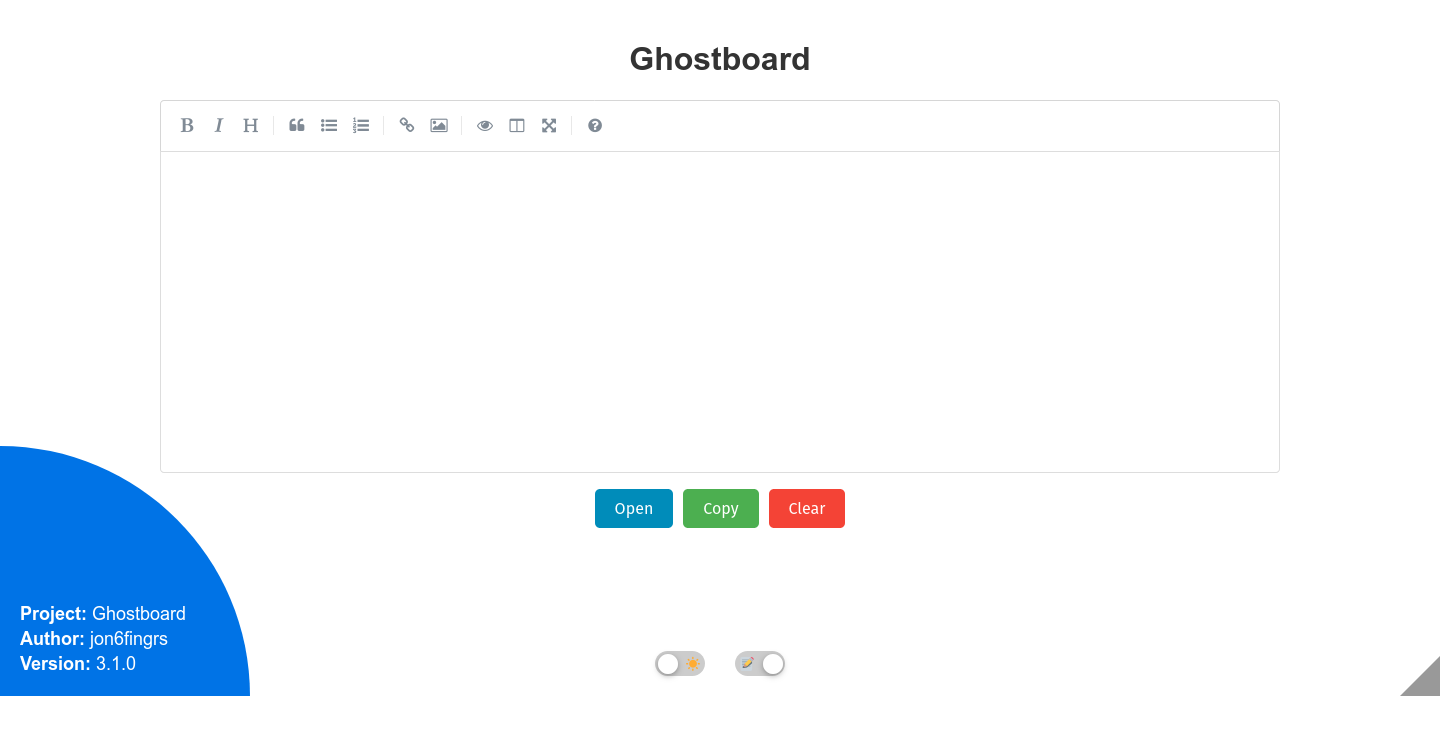
- Dynamically create multiple boards based on the URL path. Each unique subdirectory (e.g., /test or /example) hosts an independent board with its own synchronized text field.
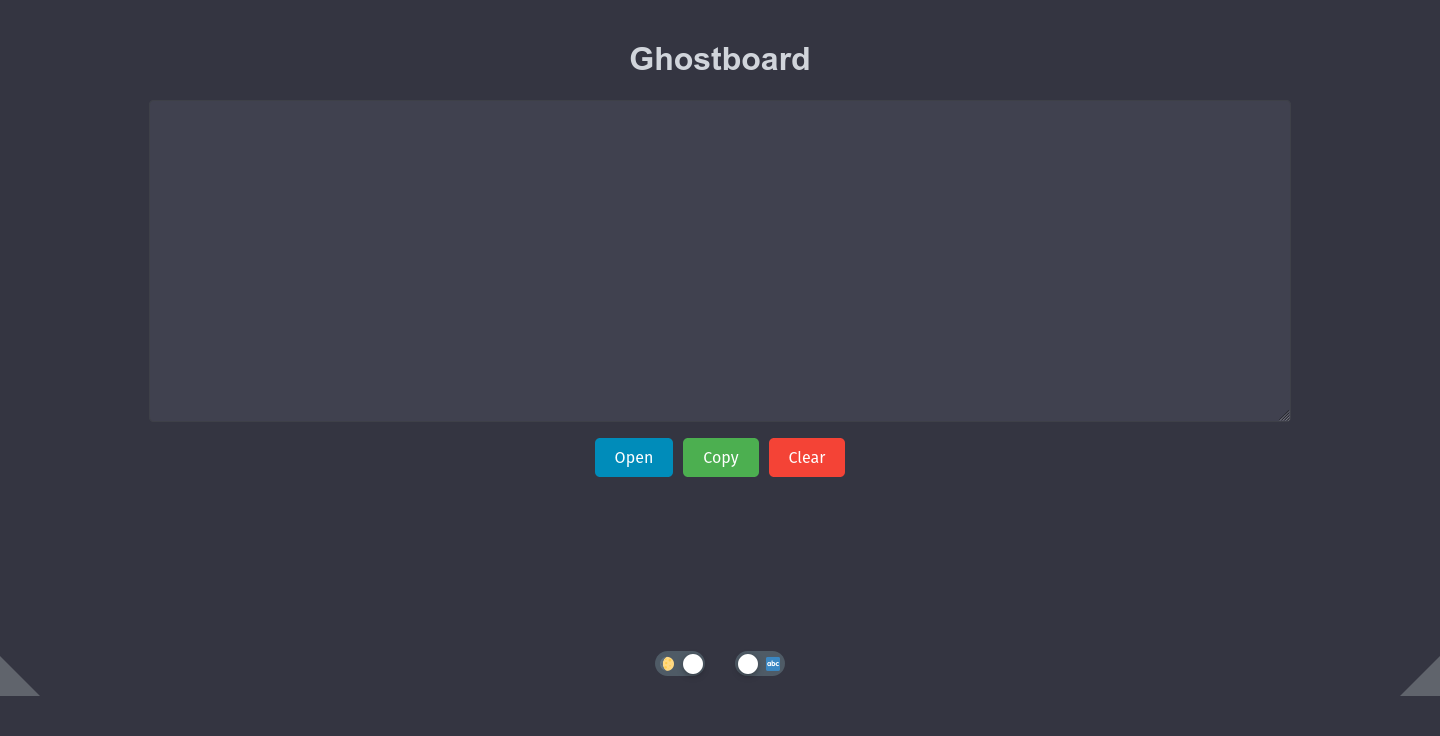
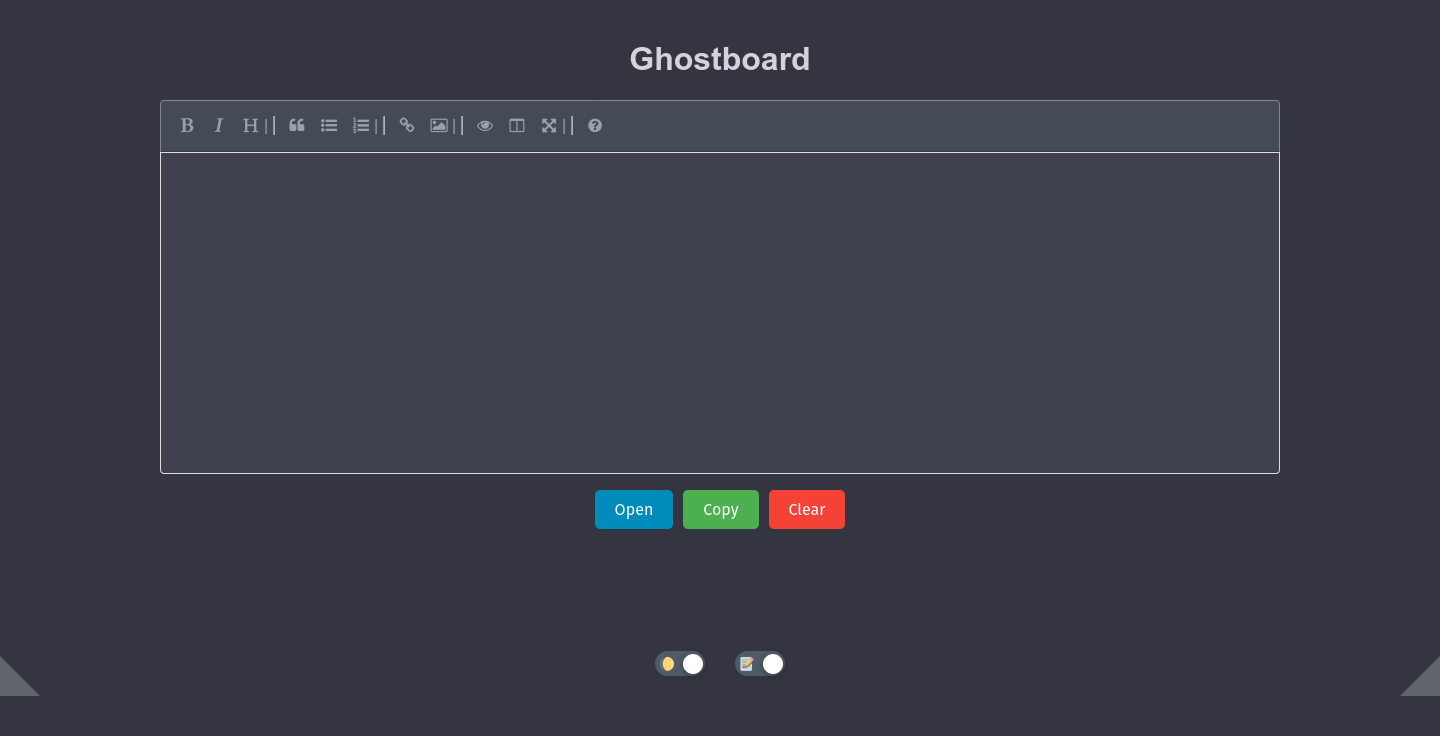
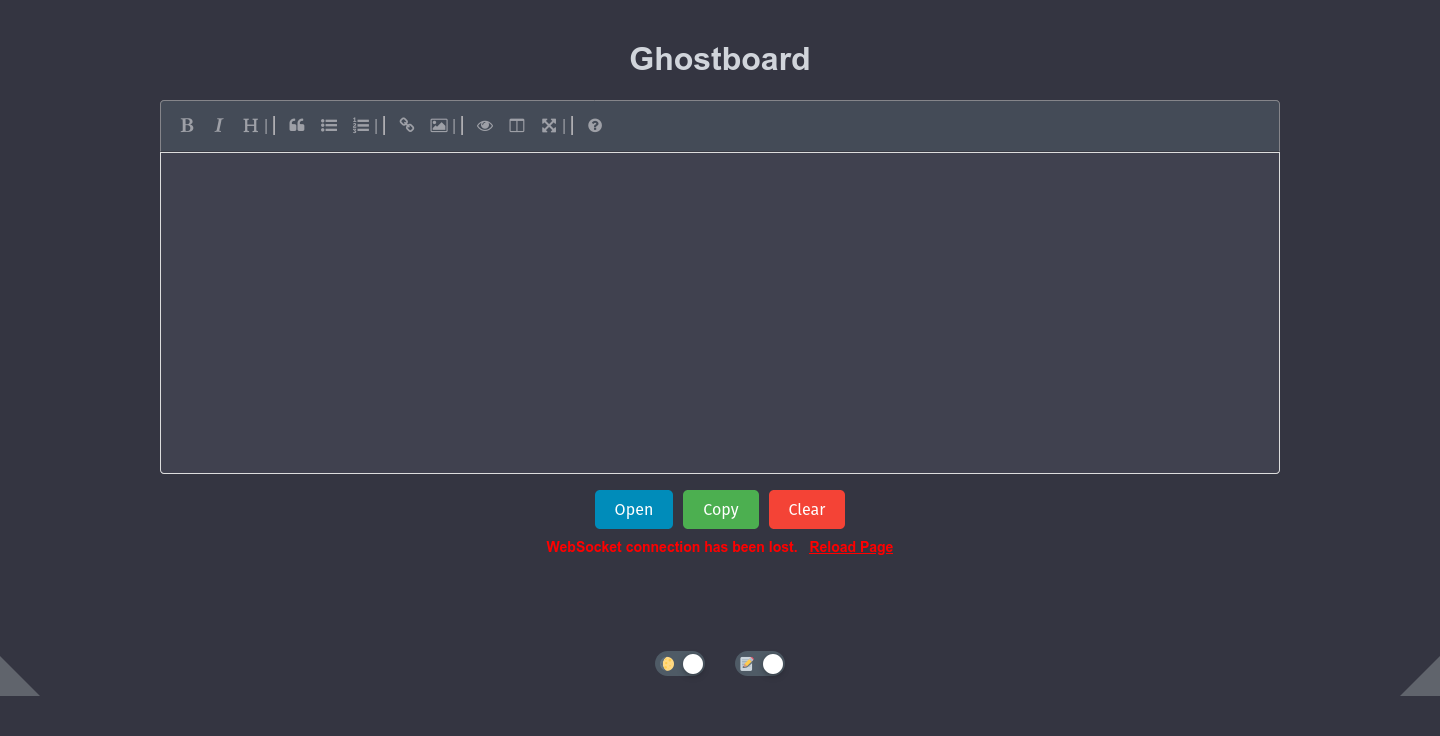
- Added Dark Mode and improved styling. Refined CSS for better readability and transitions. Implemented an iOS-style toggle switch for theme switching. Added simple icon.
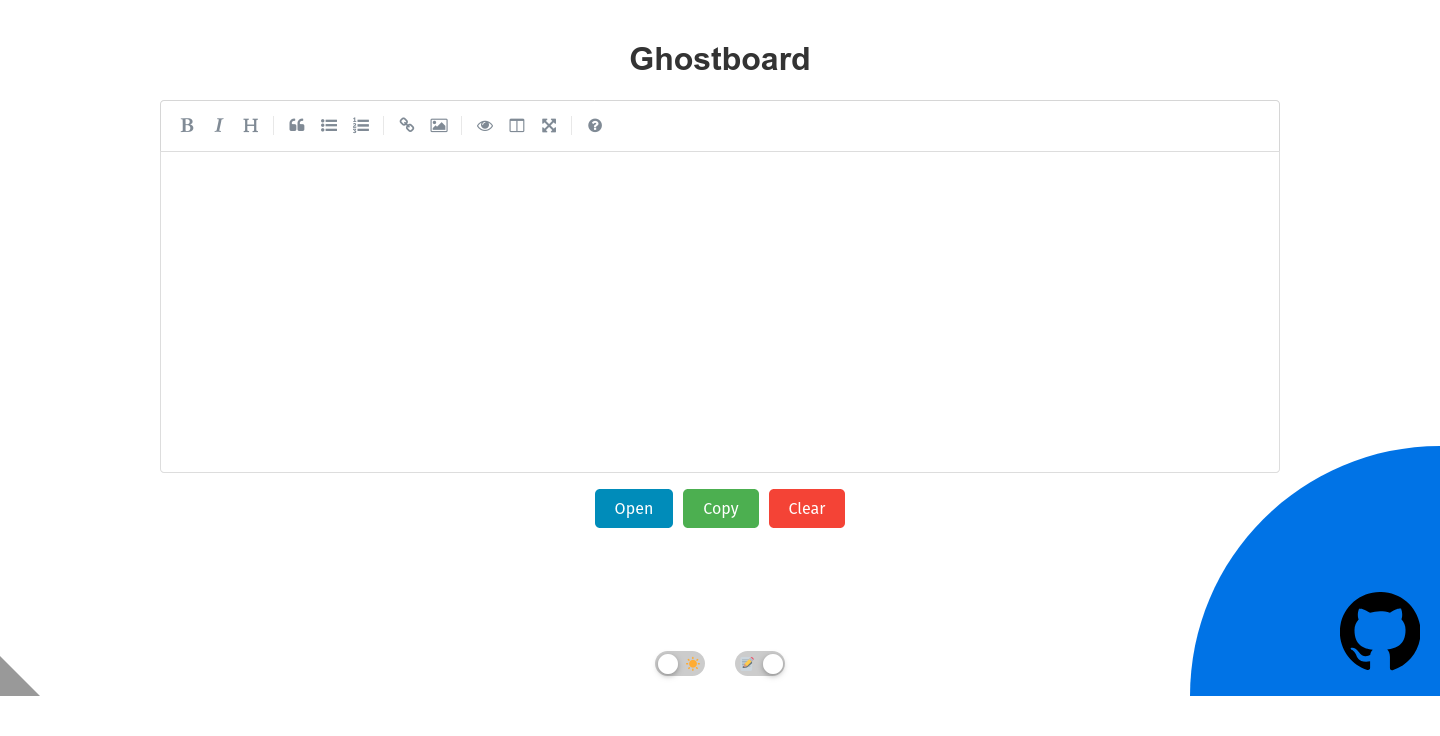
- New Feature (v3.0.0): Nonintrusive corner tabs with quarter-circle expansions:
- Left Tab: Displays project information (name, author, version).
- Right Tab: Expands to a clickable GitHub link with a large icon.
- New Feature (v3.0.0): WebSocket connection handling improvements, including error messages and a reload option.
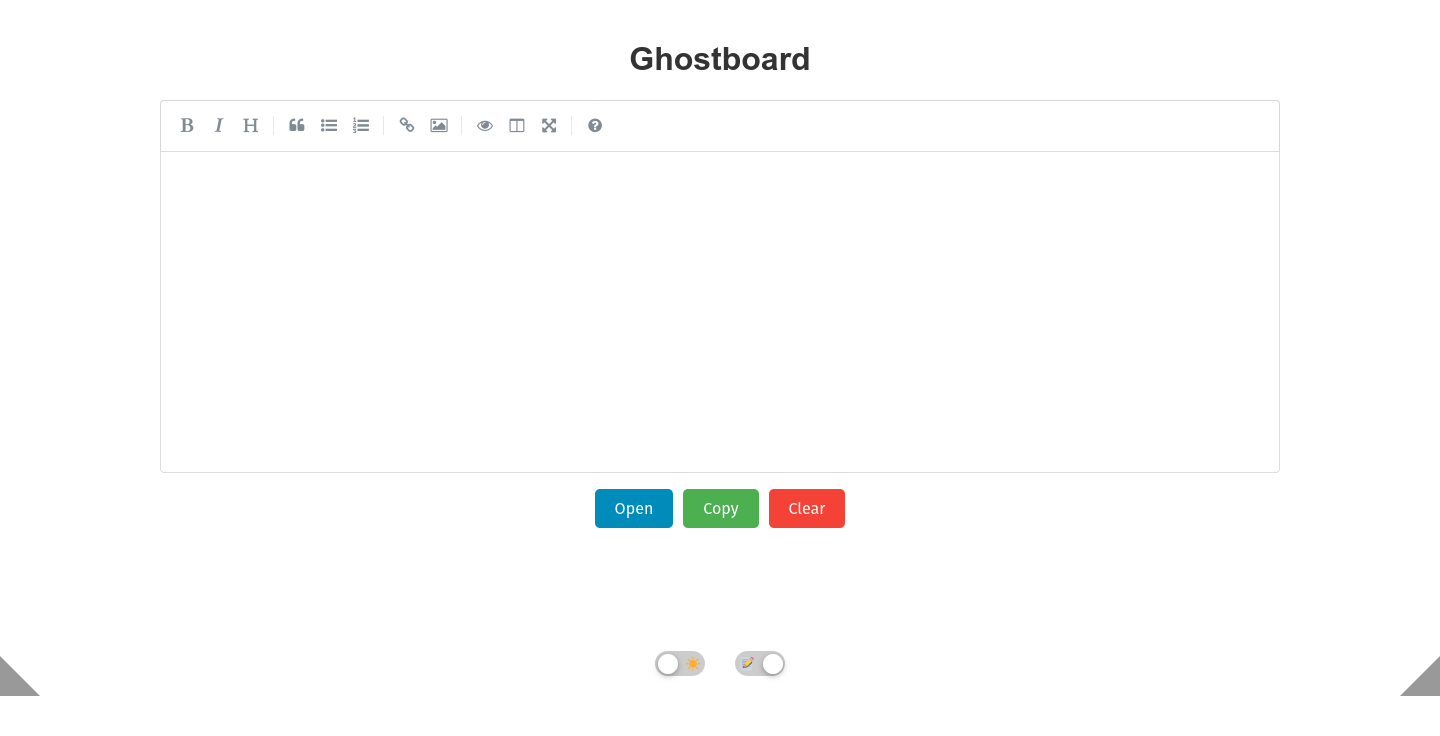
- New Feature (v3.1.0): FULL MARKDOWN SUPPORT- thanks to /u/jack3308 for the suggestion!
- New Feature (v3.2.0): BUNDLED NGINX IN DOCKER! Can simply open port 80 now and not worry about complex reverse proxy routing.
- New Feature (v3.4.0): REST API support for updating and retrieving text.
- v3.5.2: Quieter container logs (no supervisor/nginx startup warnings, silent health check).
- v3.5.1: REST API accepts raw bodies (
curl --data-binary @file); docs fixed for&/+truncation. - v3.5.0: Multi-arch images (amd64 + arm64) built automatically by GitHub Actions. Large texts (up to 16 MiB) no longer drop the connection. Open tabs restore a board's text after the server restarts. Updated dependencies and quieter logs.
Client (Legacy):
- Command-line tool to retrieve or update the shared text.
- Supports WebSocket servers using IPs or domain names.
- Still supported but superceded by REST API
Dockerized:
- Both server and client are available as prebuilt Docker images for ease of deployment.
Setup
Prerequisites
- Docker (for containerized deployment)
- Python 3.8+ (if running the scripts locally)
Usage
Running the Server
Using Prebuilt Docker Image
Pull the prebuilt server image:
docker pull thehelpfulidiot/ghostboard-serverlatestis multi-arch (amd64 + arm64).latest-arm64still works for older setups.
Run the server container:
docker run --rm -p 8080:8080 -p 8765:8765 thehelpfulidiot/ghostboard-serverAs of v3.2.0, one could instead simply open port 80 and it will work fine. Above is deprecated:
docker run --rm -p 8080:80 thehelpfulidiot/ghostboard-serverAccess the server:
- Open
http://<server-ip>:80in your browser.
- Open
Using Python
Navigate to the
server/directory:cd serverInstall dependencies:
pip install -r requirements.txtRun the server:
python3 get_text.pyAccess the server:
- Open
http://<server-ip>:8080in your browser. - All text changes will synchronize in real time.
- Open any page to create a new and separate board e.g.
http:<server-ip>:8080/new-board.
- Open
REST API Usage
Updating Text
You can update the text on a board using a POST request.
Examples:
Update text from a file or command output (sent exactly as-is, newlines and all):
curl -X POST "http://ghostboard-server:port" --data-binary @example.txt
du -h -d 2 . | sort -rh | curl -X POST "http://ghostboard-server:port" --data-binary @-
Update text directly:
curl -X POST "http://ghostboard-server:port" --data-urlencode "text=example"Clear a board:
curl -X POST "http://ghostboard-server:port" -d "text="
Note: Use
--data-urlencode(not-d) when sendingtext=.... With-d, characters like&,+and%are not encoded, so the text gets cut off at the first&and+turns into a space. A raw body (--data-binary) avoids encoding entirely; a body that isn't atext=form field is stored as-is.
Retrieving Text
You can retrieve the current text from a board using a GET request.
Examples:
Save the text to a file:
curl "http://ghostboard-server:port?get_text=true" > ghostboard.txtPrint the text to the terminal:
curl "http://ghostboard-server:port?get_text=true"
These commands work with dynamically created boards by appending the desired board path to the URL, such as http://ghostboard-server:port/board-name.
Ghostboard iOS Shortcuts Integration
Running the Client (Legacy)
Using Prebuilt Docker Image
Pull the prebuilt client image:
docker pull thehelpfulidiot/ghostboard-clientlatestis multi-arch (amd64 + arm64).
Retrieve the current text:
docker run --rm thehelpfulidiot/ghostboard-client <server-ip>Update the shared text:
docker run --rm thehelpfulidiot/ghostboard-client <server-ip> "New text to share"Update text from a file:
cat text.txt | docker run --rm -i thehelpfulidiot/ghostboard-client <server-ip> -Update file from text:
docker run --rm -i thehelpfulidiot/ghostboard-client <server-ip> > text.txt
Using Python
Navigate to the
client/directory:cd clientInstall dependencies:
pip install -r requirements.txtRetrieve the current text:
python3 text_client.py <server-ip>Update the shared text:
python3 text_client.py <server-ip> "New shared text"
Examples
Retrieve the Current Text
python3 client/text_client.py 192.168.1.1
Output:
Hello, World!
Update the Shared Text
python3 client/text_client.py example.com "New shared text"
Output:
Text updated successfully.
Update Text from File
cat text.txt | python3 client/text_client.py example.com -
Output:
Text updated successfully.
Update File from Text
python3 client/text_client.py example.com > text.txt
Output:
Connecting to: wss://example.com:443/ws.
Reverse Proxy Configuration
As of v3.2.0, this part is largely obsolete. One can simply point a reverse proxy to port 80 on the container and make sure websockets are enabled and it should work.
Ghostboard can function behind a reverse proxy, requiring only a single exposed port for both HTTP and WebSocket traffic. To configure your reverse proxy:
- Route
/traffic to the HTTP server (<server-ip>:8080). - Route
/wstraffic to the WebSocket server (<server-ip>:8765). - Route
/ws/traffic to the WebSocket server (<server-ip>:8765).
Example configuration for Nginx:
location / {
    proxy_pass http://<server-ip>:8080;
}

location /ws {
    proxy_pass http://<server-ip>:8765;
    proxy_http_version 1.1;
    proxy_set_header Upgrade $http_upgrade;
    proxy_set_header Connection "Upgrade";
}

location /ws/ {
    proxy_pass http://<server-ip>:8765;
    proxy_http_version 1.1;
    proxy_set_header Upgrade $http_upgrade;
    proxy_set_header Connection "Upgrade";
}

error_page 404 /index.html;
Notes on Address and Ports
- IP Addresses: If you provide an IP address (e.g.,
192.168.1.1), the client defaults tows://<ip>:8765. - Domain Names: If you provide a domain name (e.g.,
example.com), the client defaults towss://<domain>:443/ws.
Screenshots
Configuration
Optional environment variables for the server:
| Variable | Default | Description |
|---|---|---|
GHOSTBOARD_CLEAR_DELAY |
300 |
Seconds a board keeps its text after the last browser disconnects. |
GHOSTBOARD_MAX_TEXT_SIZE |
16777216 |
Largest text accepted, in bytes. |
Docker Images (CI)
Images are built and pushed to Docker Hub by GitHub Actions (.github/workflows/):
- Push to
maintouchingserver/→thehelpfulidiot/ghostboard-server:latest(+latest-arm64,sha-<commit>). - Push to
maintouchingclient/→ same forthehelpfulidiot/ghostboard-client. - Server builds on
mainare also tagged with the version shown in the page (<strong>Version:</strong>inserver/index.html), e.g.:3.5.1,:3.5,:3. Bump that version for each release; otherwise the next build overwrites the existing version tag. - Push a git tag like
v3.5.0→:3.5.0,:3.5,:3(works for the client image too). - Pull requests build and smoke-test only, without pushing.
- Can be run manually from the Actions tab ("Run workflow").
Setup (one time): create a Docker Hub access token with Read & Write scope, then add repository secrets DOCKERHUB_USERNAME and DOCKERHUB_TOKEN under Settings → Secrets and variables → Actions.
Contributing
Contributions are welcome! Feel free to open an issue or submit a pull request to improve the project.
License
This project is licensed under the MIT License.
Categories
Download Statistics
Total Downloads Over Time
Related apps
Explore more like this
Explore allLinks
Details
thehelpfulidiot/ghostboard-serverRuntime arguments
- Web UI
http://[IP]:[PORT:80]/- Network
bridge- Shell
sh- Privileged
- false
Template configuration
- Target
- 80
- Default
- 8080
- Value
- 8080