
All apps · 0 apps

Faro
Docker app from derek-diaz's Repository
Overview
Readme
View on GitHub

Faro
Friendly, self-hosted DNS control and network visibility for your homelab.
Faro pairs CoreDNS with an approachable web app so you can understand and control DNS activity without sending your network data to a third party.
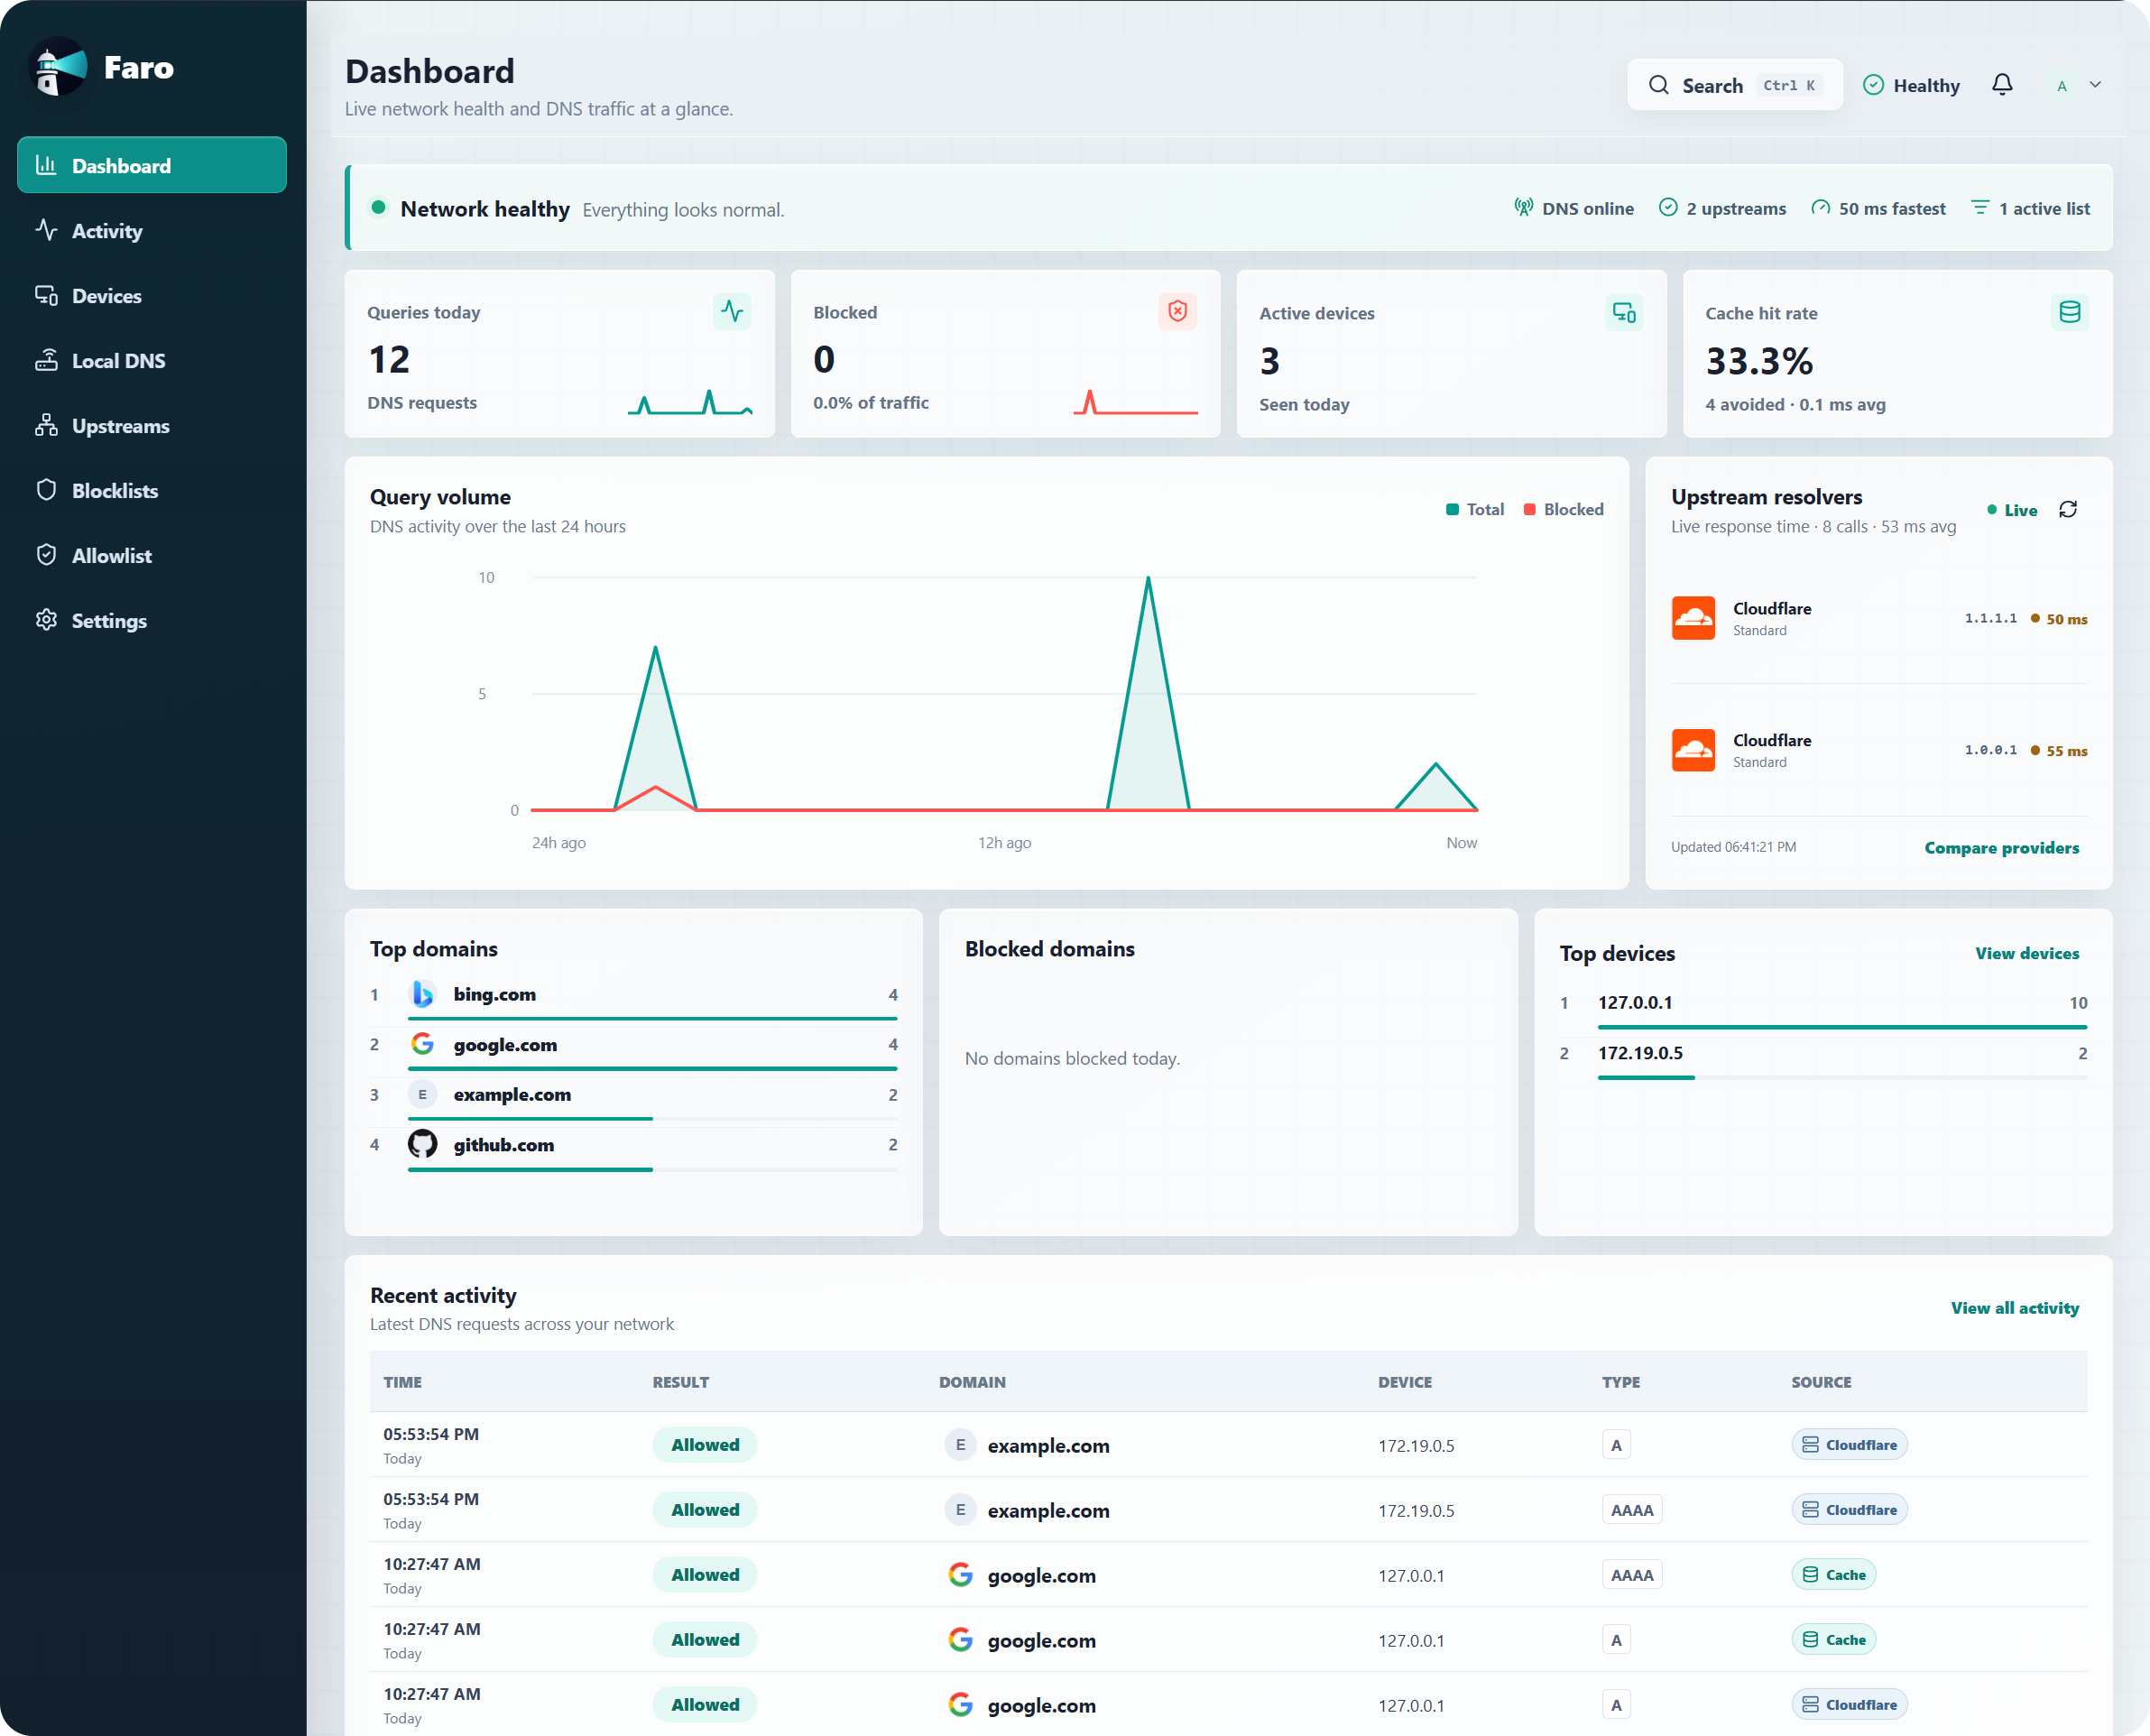
Your network health, DNS activity, and devices—all in one place.
Features
- Guided first-run setup and local administrator authentication
- Live dashboard and searchable network activity
- Device inventory, friendly names, and activity replay
- Local, read-only UniFi integration for stable device identity across IP changes
- Home protection plus custom per-device protection setups
- Local DNS records, per-protection exceptions, and curated blocklists
- Encrypted DNS-over-HTTPS upstreams with privacy-aware health and failover
- Secure multi-server redundancy with one primary Faro and any number of read-only DNS replicas
- Upstream DNS provider selection with live latency comparisons
- DNS cache and upstream-resolution visibility
- Clear explanations for why requests were allowed or blocked
- Configurable retention, database pruning, and health metrics
- Downloadable, passphrase-encrypted database backups with in-app restore
Run Faro
You need Docker Compose and a machine with a fixed LAN IP or DHCP reservation.
mkdir faro && cd faro
curl -LO https://raw.githubusercontent.com/derek-diaz/Faro/main/docker-compose.yml
docker compose up -d
On Windows PowerShell, download the file with:
New-Item -ItemType Directory faro -Force | Out-Null
Set-Location faro
Invoke-WebRequest https://raw.githubusercontent.com/derek-diaz/Faro/main/docker-compose.yml -OutFile docker-compose.yml
docker compose up -d
Open http://YOUR-FARO-IP:1787 and create the administrator account. First-run setup remains open until that account is created, then Faro closes account creation automatically. Complete the guided setup, then configure your router's DHCP DNS server to use YOUR-FARO-IP.
| Port | Protocol | Purpose |
|---|---|---|
1787 |
TCP | Faro web interface |
53 |
TCP and UDP | DNS for your router and devices |
Port
53must be available on the Docker host for normal router-wide DNS use.
Update Faro
Run these commands from the directory containing docker-compose.yml:
docker compose pull
docker compose up -d
For port customization, verification, troubleshooting, backups, local development, architecture, and release publishing, see the technical and deployment guide.
Unraid
Unraid runs the same tabierto/faro image as standard Docker Compose. The Community Applications template only translates Faro's normal ports, volume, and environment settings into the Unraid interface. See the Unraid installation notes.
License
Copyright 2026 Derek Diaz Correa.
Licensed under the Apache License, Version 2.0. See LICENSE for the full license text.
Made in Puerto Rico.
Install Faro on Unraid in a few clicks.
Find Faro in Community Apps on your Unraid server, review the template, and click Install. Unraid handles the Docker app or plugin setup from the published template.
Requirements
Categories
Download Statistics
Related apps
Explore more like this
Explore allDetails
tabierto/faro:latestRuntime arguments
- Web UI
http://[IP]:[PORT:1787]/- Network
bridge- Shell
bash- Privileged
- false
- Extra Params
--log-opt max-size=10m --log-opt max-file=3
Template configuration
Faro's database, generated DNS configuration, cached icons, and bounded raw query logs.
- Target
- /config
- Default
- /mnt/user/appdata/faro
- Value
- /mnt/user/appdata/faro
Faro web interface port. Change the host port when using bridge networking; custom-IP installations use Faro's internal port 1787.
- Target
- 1787
- Default
- 1787
- Value
- 1787
DNS service over UDP. Keep this at port 53 for router-wide DNS.
- Target
- 53
- Default
- 53
- Value
- 53
DNS service over TCP. Use the same host port as UDP.
- Target
- 53
- Default
- 53
- Value
- 53
Maximum size in bytes of each raw CoreDNS query-log file.
- Target
- FARO_QUERY_LOG_MAX_BYTES
- Default
- 10485760
- Value
- 10485760
Number of rotated raw DNS query-log files retained.
- Target
- FARO_QUERY_LOG_BACKUPS
- Default
- 2
- Value
- 2